
Embed Recast onto your website
In this guide:
- Creating a widget
- Entering your widget's details
- Selecting content for your widget
- Styling your widget
- Copying the code
- Adding a widget to your website
Step 1: Creating a widget
To create a new Recast widget on your website select ‘Widgets’ on the left-hand menu in your Recast for Business account.
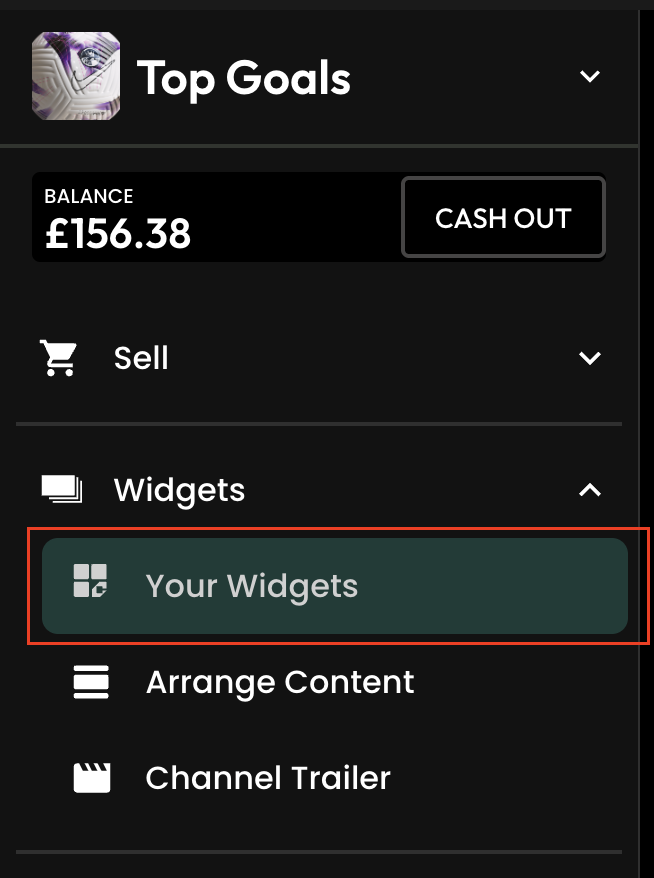
Then press ‘Add New’ at the top right of the screen to add a new widget. Any widgets you have created previously will be listed here.
Step 2: Enter the widget details
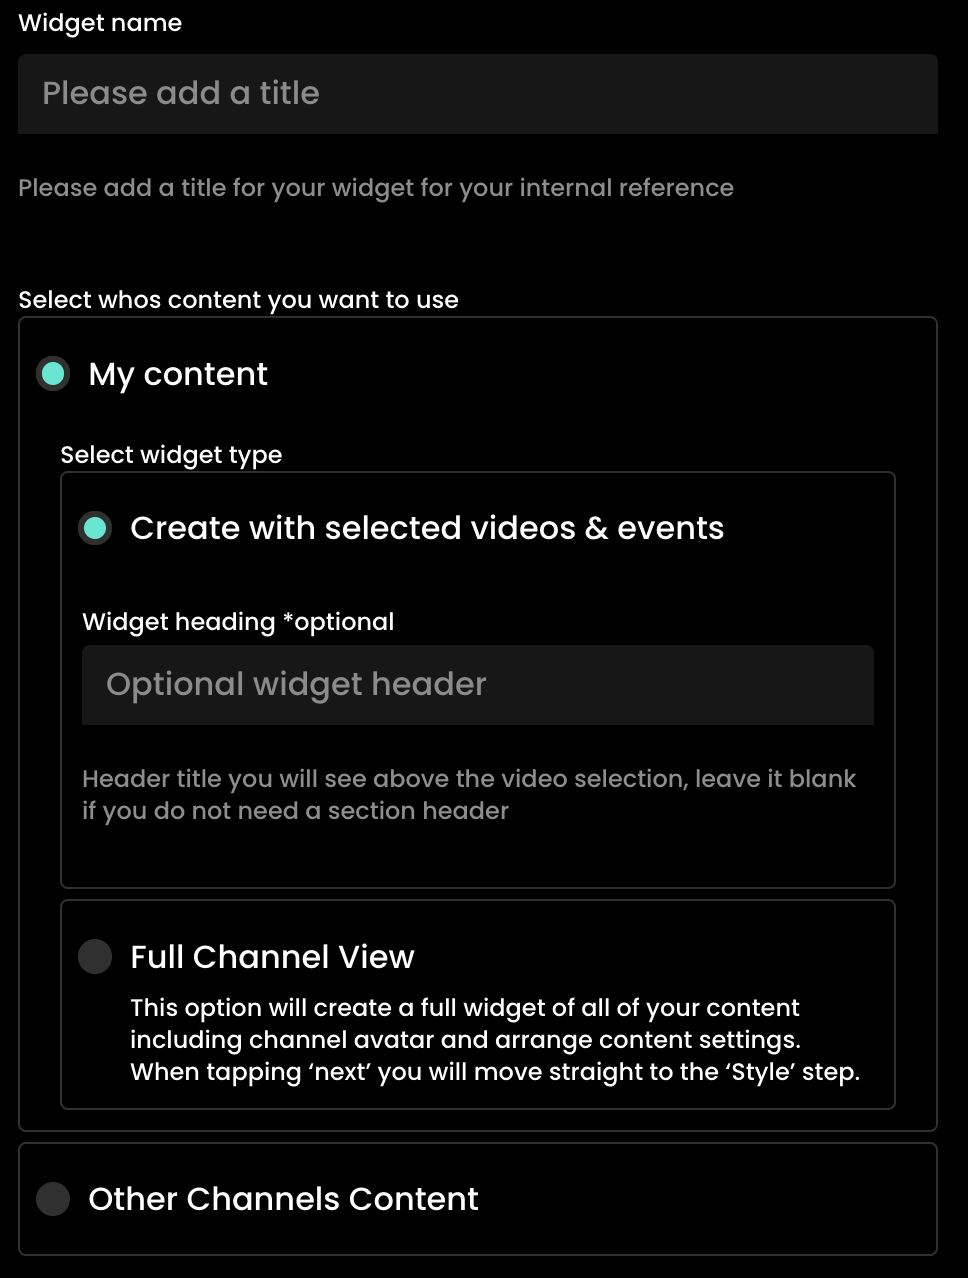
- Add a ‘Widget name’: This is for your own reference and should give a clear description of what the widget is for or the type of content that will be placed in it. This will help you easily identify it later in your widgets list.
- Add a ‘Widget heading’: This is the text that will be displayed above your videos on your site. You can leave this blank if you don’t want to display anything.
- My content / other brands content: You can choose to create a widget from content on your own Recast channel or if you are an affiliate of another channel(s), then you can create a widget using their content. To be added as an affiliate of another channel please contact partnersupport@recast.tv.
- Full channel view: This allows you to create widget that shows all the content published to your/an affiliate's channel. This will include the channel's title, logo, cover image, and available channel passes. The content on this widget can be reordered using the arrange content feature in Recast Publish
- Create with selected videos & events: Selecting this option takes you to step 2 in the create widget flow where you can choose specific content to include in you widget
Then press ‘Next’ to continue
Step 3: Selecting content for your widget
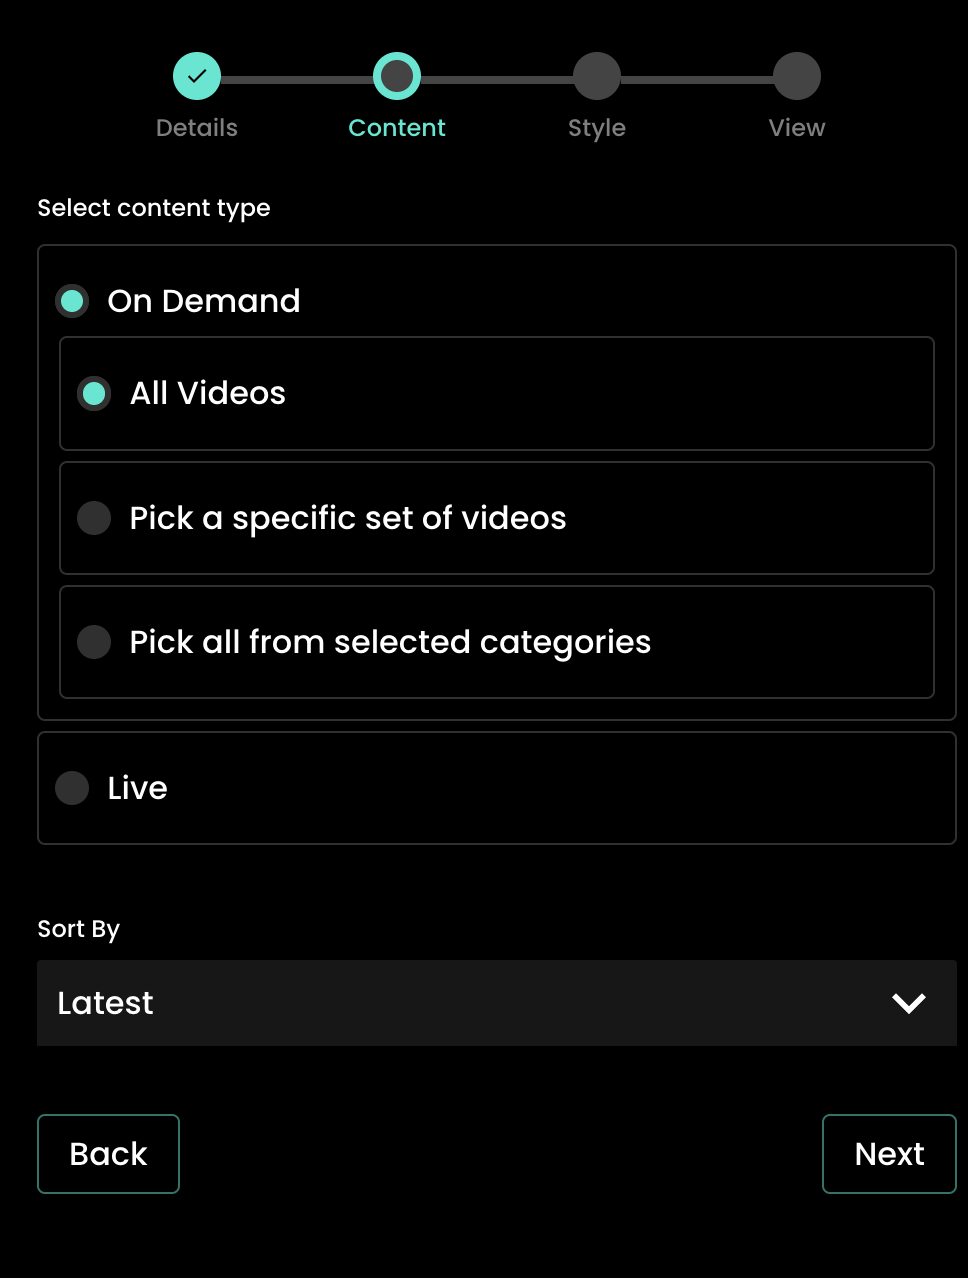
- On-demand / live: A widget can only contain one type of content; you can choose between Live Streams or On-demand content. If you want to have multiple content types on your website you can create multiple widgets.
- Select videos: You can choose all videos, a custom selection, or videos from a specific category. You can include between 1 to 50 videos when selecting a specific set of videos.
- Order videos: You can choose how to order your videos on the widget.
- Date: For on-demand content, you can sort by ‘Latest’. This will show your videos by their publish date and for Live streams you can sort by ‘Start time’.
- Popularity: For both on-demand and Live streams you can also sort by ‘Popularity’. This is based on the number of recent purchases each video has.
Then press ‘Next’ to move to the next stage.
Step 4: Styling your widget
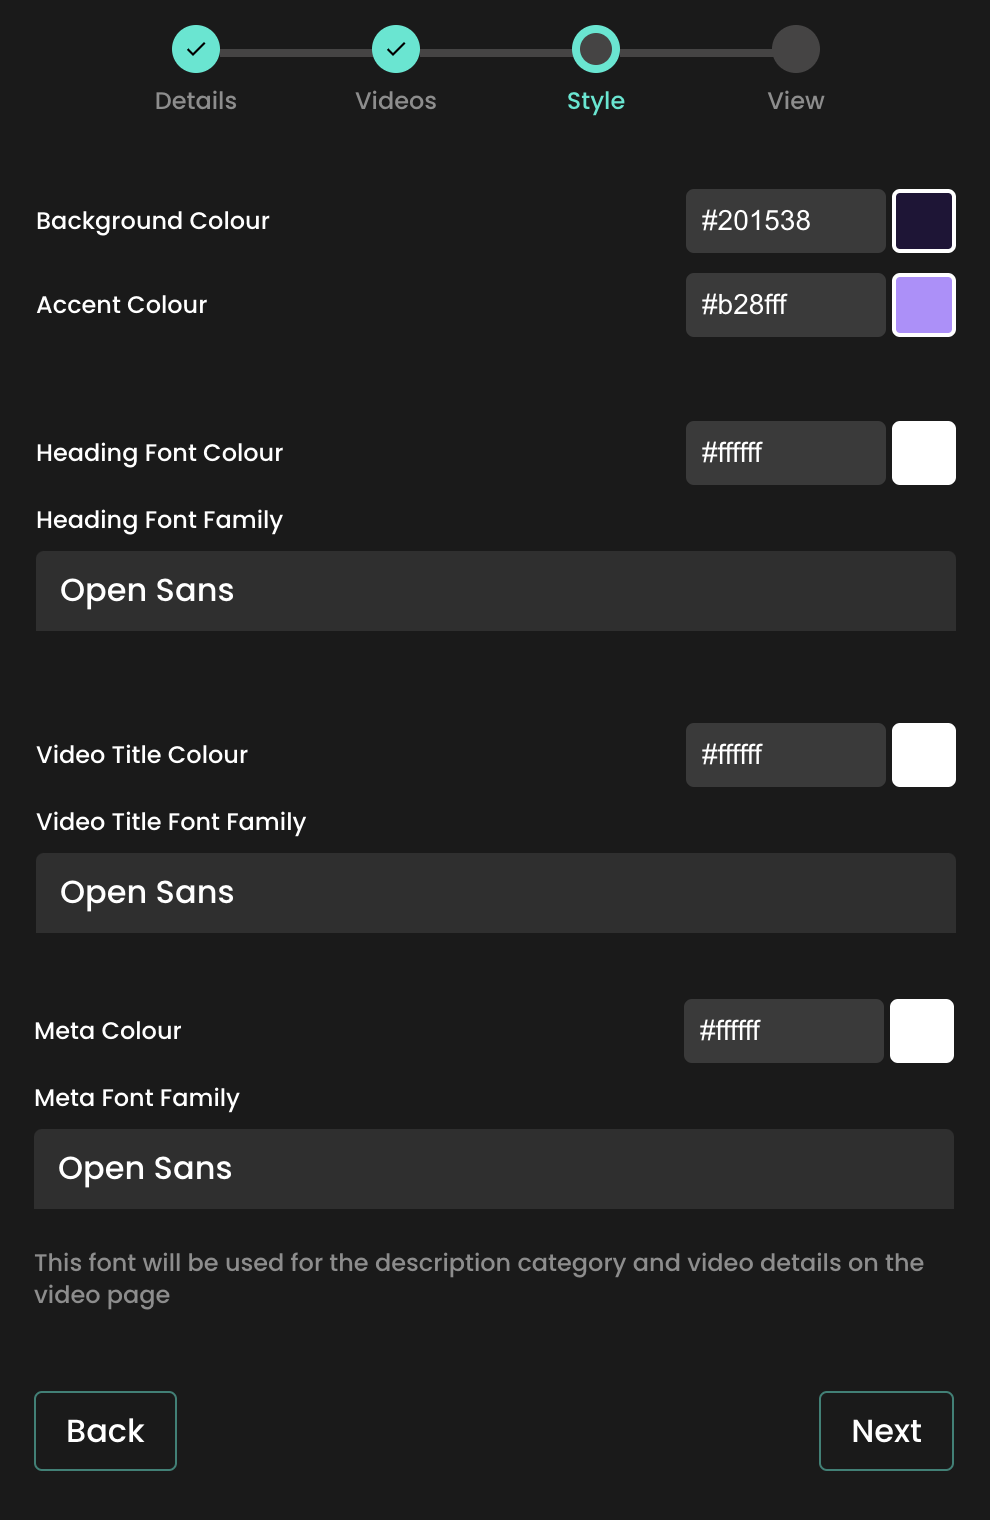
You can apply your own custom styles to your widget. Use the colour picker or type in the hexcode of the colour you want to apply.
- Background colour: This will change the background colour of the widget container.
- Accent colour: This will change the date text on the video details page.
- Heading Font Colour: This will change the colour of the widget heading text that will display above the videos.
- Video Title Colour: This will change the colour of the text displaying the video titles.
- Meta Colour: This will change the colour of the supporting text.
You can also change the font that is displayed on the widget by typing the font family name into the text fields. For this to work correctly:
- The font name must already function on your site as we won’t load in any new fonts.
- The name needs to match exactly the font used on your site.
Then press ‘Next’ to move to the next stage.
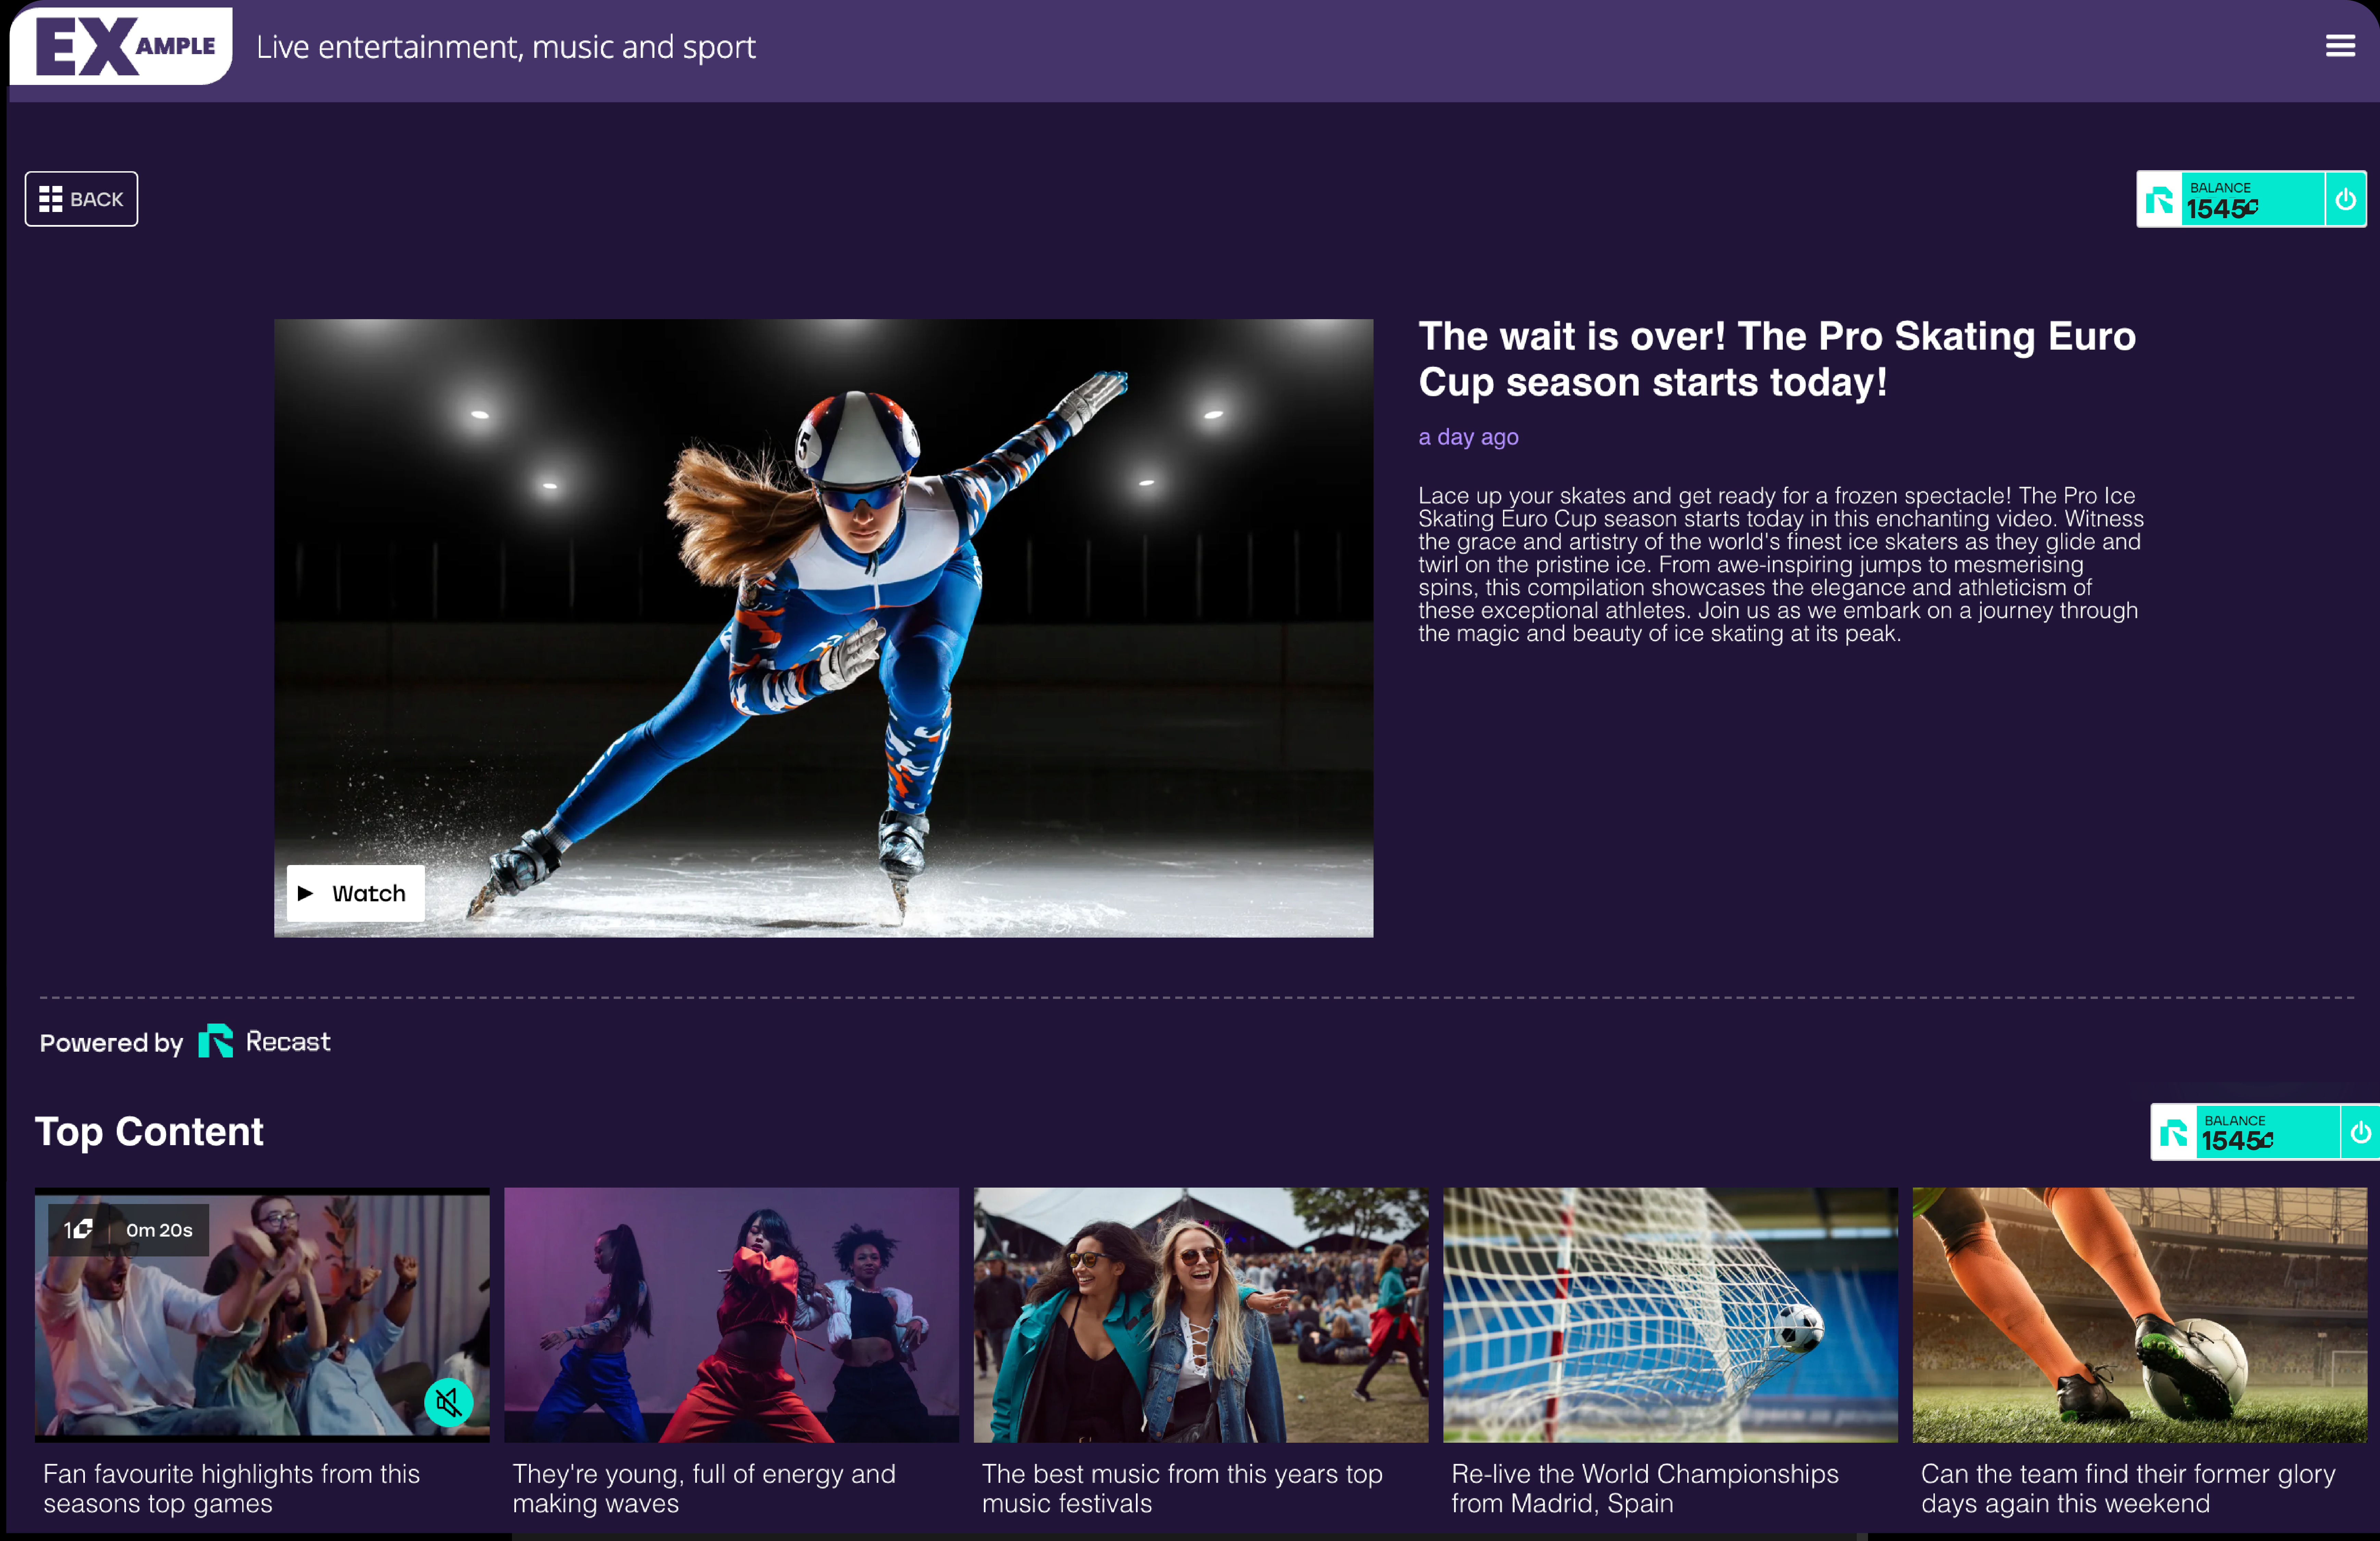
As shown below, the styles selected will apply to the widget when it’s added on your website.
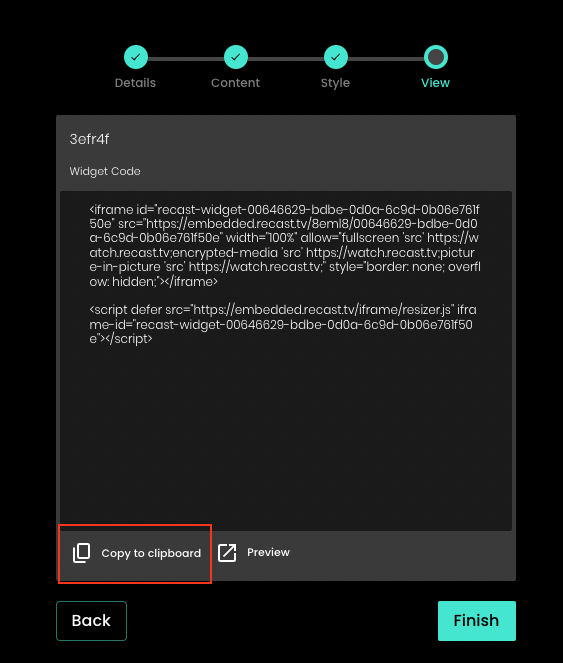
Step 5: Coping the embed code
You will now be provided with the code that needs to be embedded onto your website. Press ‘Copy to clipboard’ to copy the code.
Then press ‘Finish’ to save the widget.
Step 6: Adding a widget to your website
- You can copy the widget code either when creating the widget (as highlighted above), or you can return to the list view and press to view the code. You can then copy from there. The widget will fill the full width of the container it is placed in.
- Once you've copied your widget code, go to the web page on your website where you want it to live.
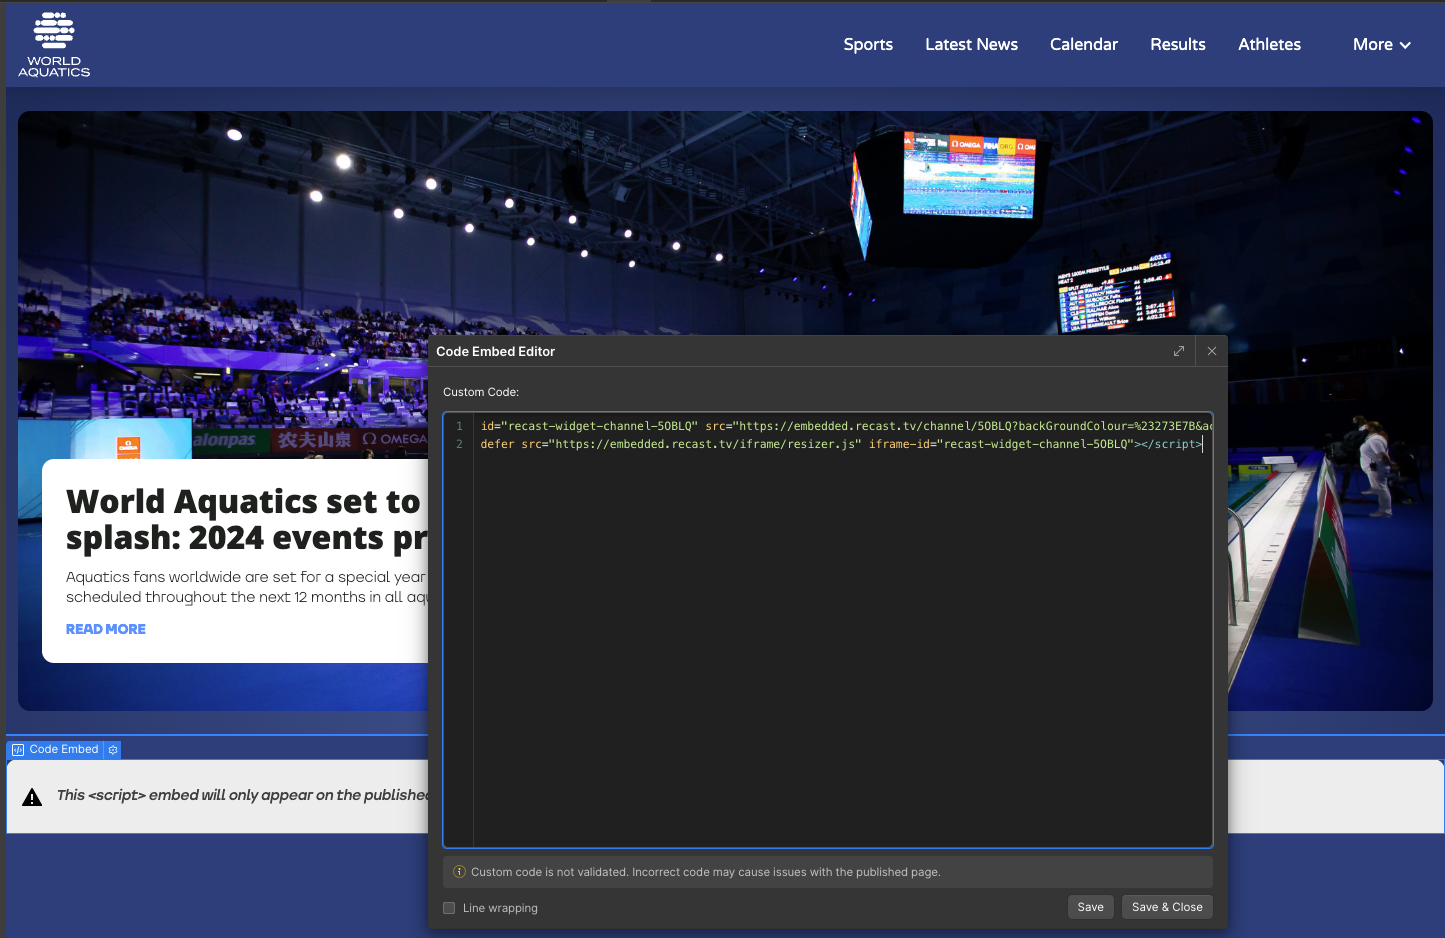
- How you add the code will depend on the website CMS software you use, but typically websites will allow you to toggle between a "visual" view and a "code" or "text" view in the text editor section.
- If you go to the "code" or "text" view, you'll be able to drop the embed code straight into the text editor.
- Other website CMS's may have a component called " Code embed" or similar (see illustrative example below), that you can just add to your page before pasting in your Recast Embed widget code.
- Remember to save and publish the page.
How your Users can purchase and watch your content
- Sign up and Log in: Users can sign up to Recast without leaving your site either by interacting with videos or pressing the sign up button at the top of the widget. Fans who have already signed up to Recast will be able to log in and will have access to all their previously purchased content.
- Top up and purchase: Users will be able to top up their wallet balance and purchase videos without leaving your site by either interacting with videos or pressing the wallet balance at the top of the widget.
- Earning credits: If Users want to be able to earn credits they will be able to do this by inviting friends to sign up and watch content on Recast.
- Watching videos: Users will now be able to watch live streams and on-demand videos directly on your site.
